Side Steps for 4x4s and SUVs: Universal or Custom-Made, Load Capacity and Installation
A 4x4 running board is not a style accessory, even if that is often what decides the purchase. It is first and foremost a step: it makes up the twenty to thirty centimeters of step height that separate an SUV from a sedan.
The market ranges from a hundred-euro chrome tube to an eight-hundred-euro extruded aluminum platform, via the retractable electric running board. The price differences hide differences in mounting, load capacity, and salt resistance that are not visible in a photo.
This guide makes the call: universal or custom-made, what material, what actual load, how it is mounted, what it changes off-road, what the vehicle inspection says, and how to install it properly.
What is a 4x4 or SUV running board really used for
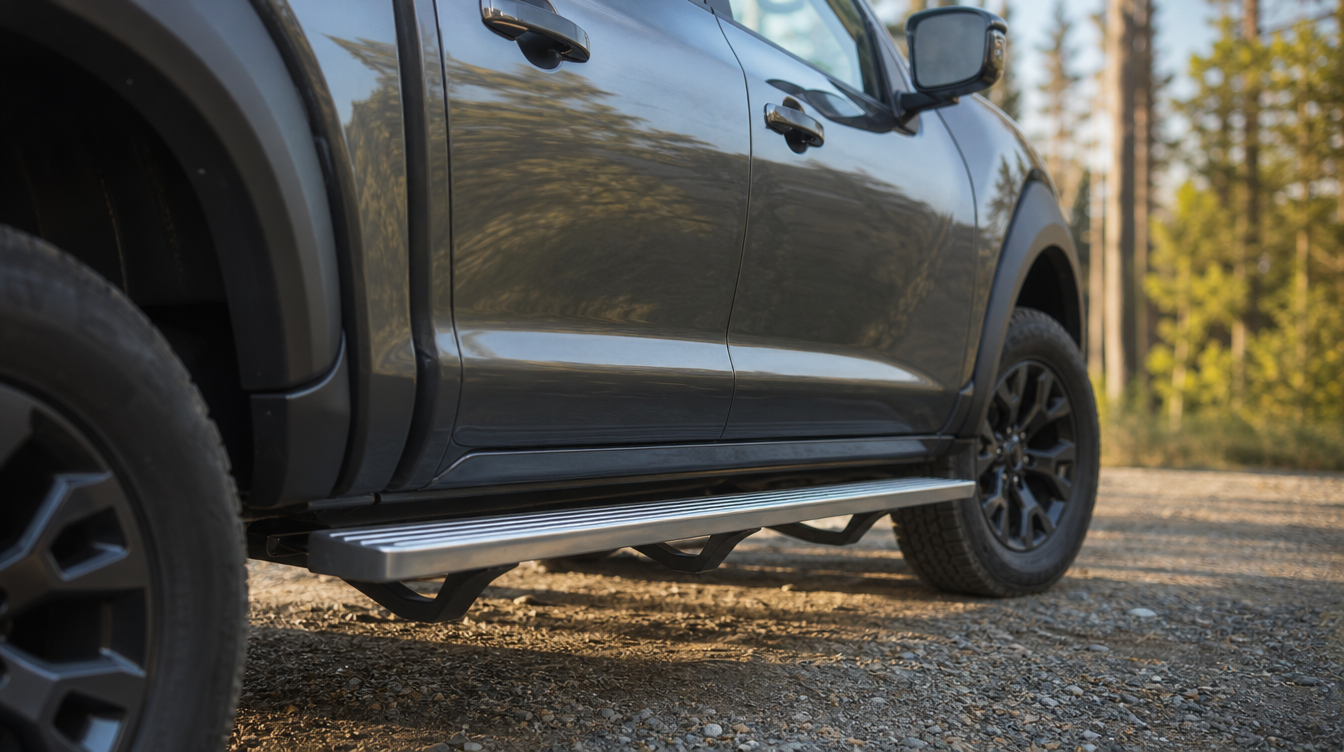
Three functions, in this order of real importance. The first is access: getting in and out of a tall vehicle without grabbing the steering wheel, which matters a great deal for children, elderly passengers, and loading the roof.
The second is rocker panel protection. A running board takes the gravel thrown by the front wheels and the door dings from neighboring cars. On a vehicle kept for a long time, it is a preserved rocker panel.
The third is aesthetic, and there is no reason to hide it: a running board breaks the visual height of an SUV side and gives the silhouette a base.
- Easier access: the step of an SUV often rises to 45-60 cm from the ground;
- Rocker panel protection against gravel and door dings;
- Support for loading the roof, a trunk, or bicycles;
- Visual effect: the silhouette appears wider and more grounded;
- Trade-off: mud to clean and an obstacle off-road.
This last point deserves to be said right away. A running board goes below the rocker panel line: it is a conscious compromise between access comfort and belly angle.
Tube, platform, or electric running board: the three families
The commercial vocabulary is vague, but there are only three families, and they are not used for the same purpose.
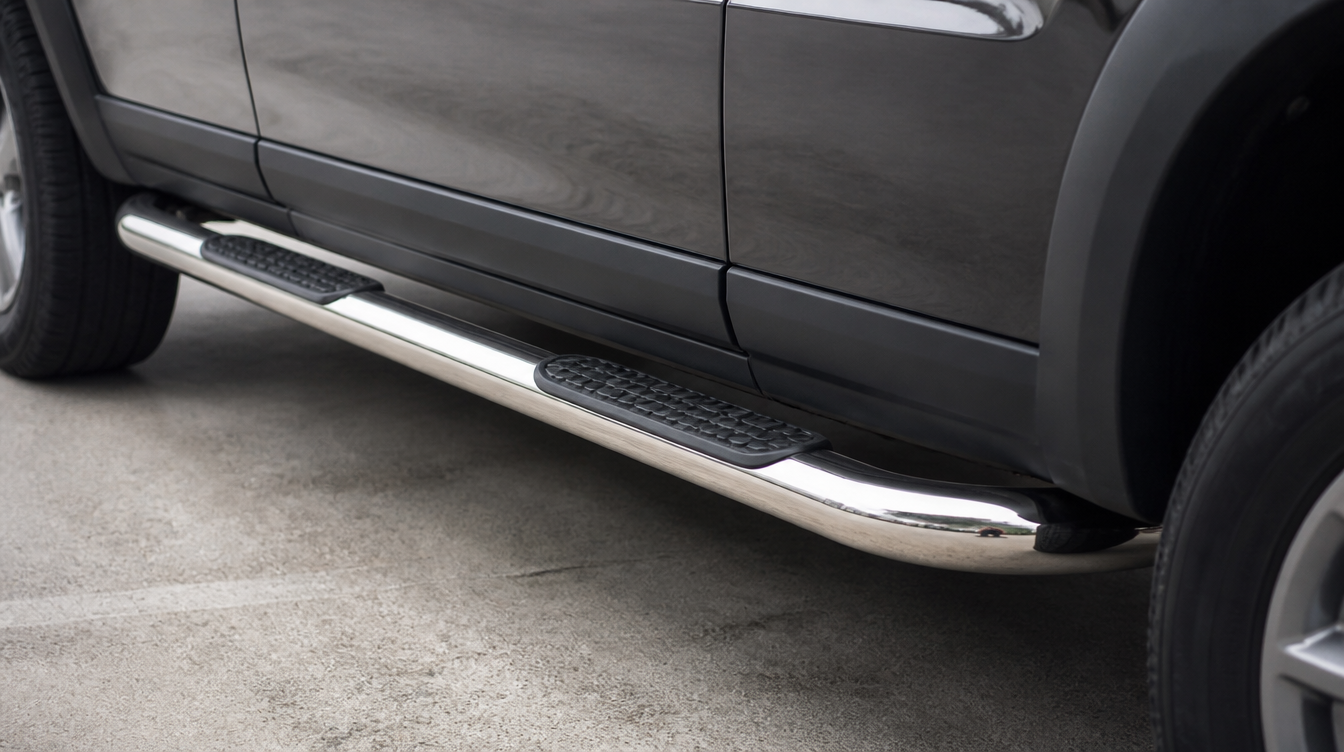
The tube, or side bar, is a round of stainless steel or painted steel, often with two or three rubber pads. It is the cheapest, the lightest, and the least practical: the support surface is tiny and slippery in winter.
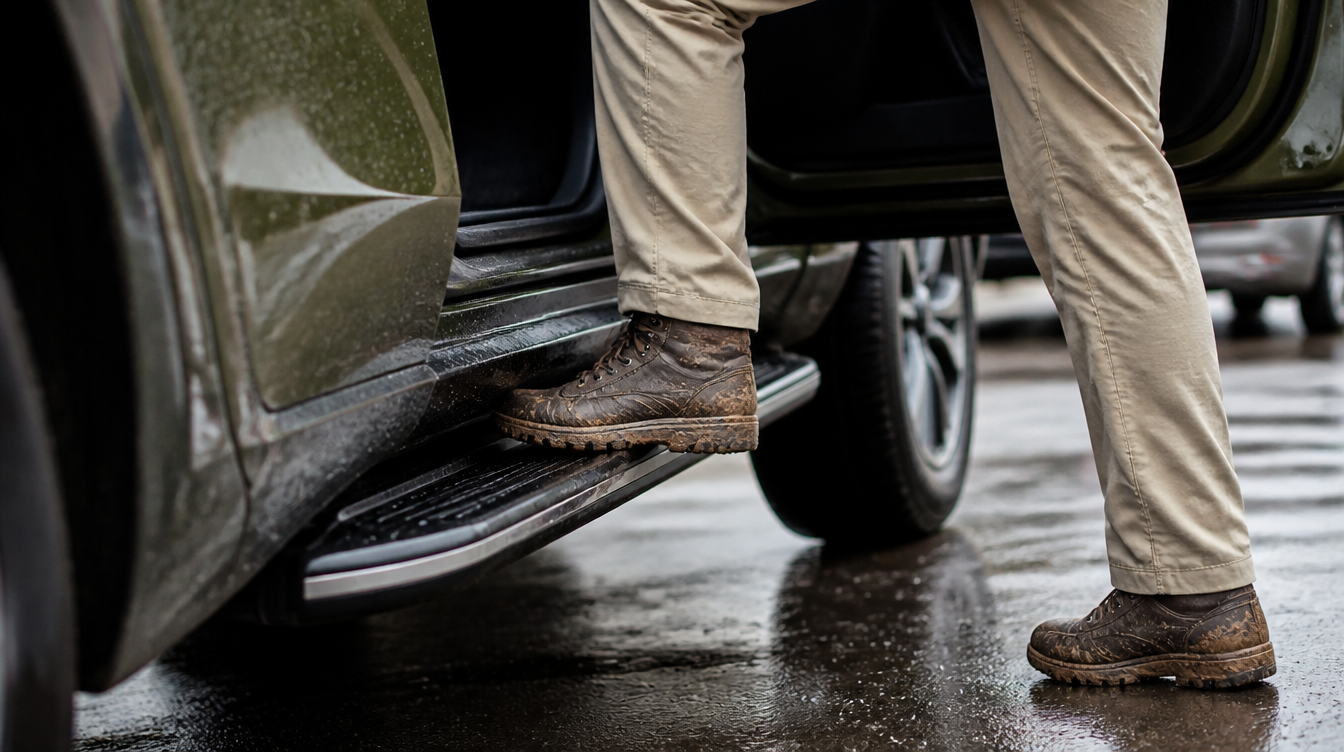
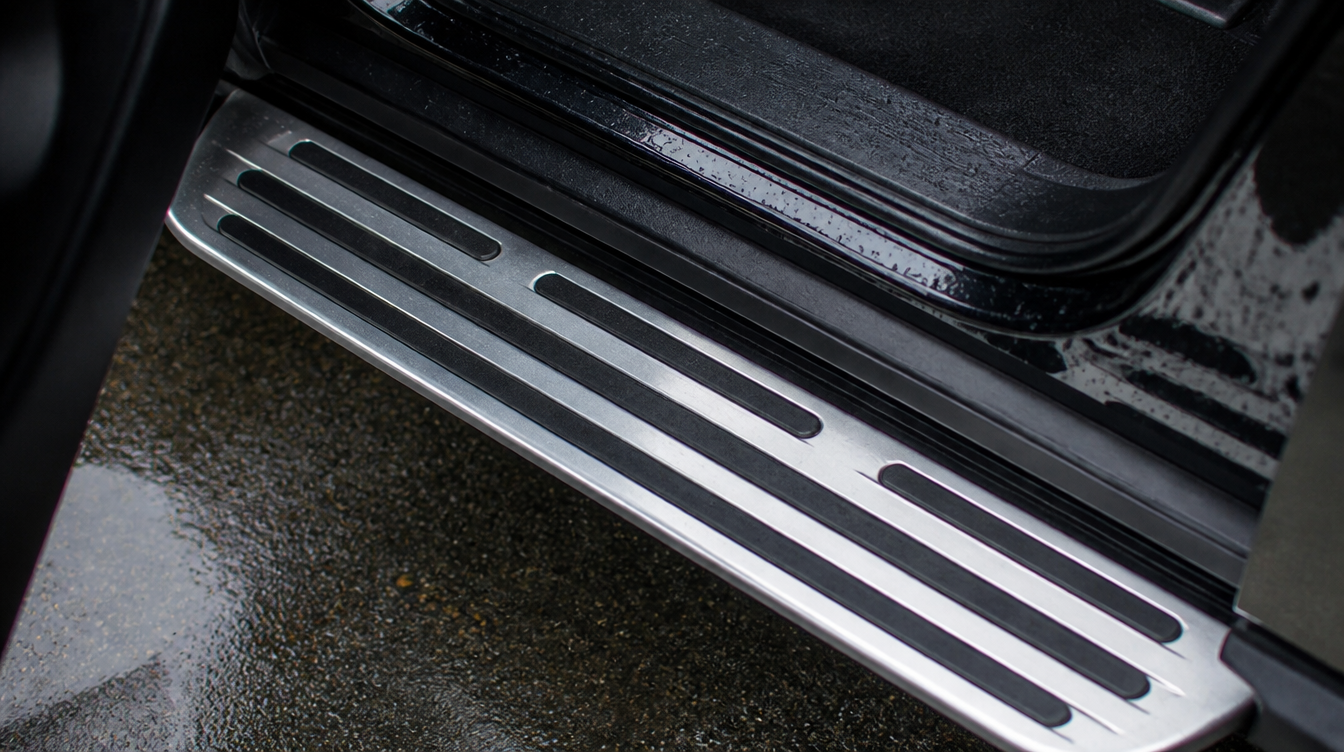
The platform is a flat extruded aluminum profile, 12 to 20 cm wide, with non-slip ribs. It is the most useful format for everyday use, and by far the most comfortable for a child or an elderly person.
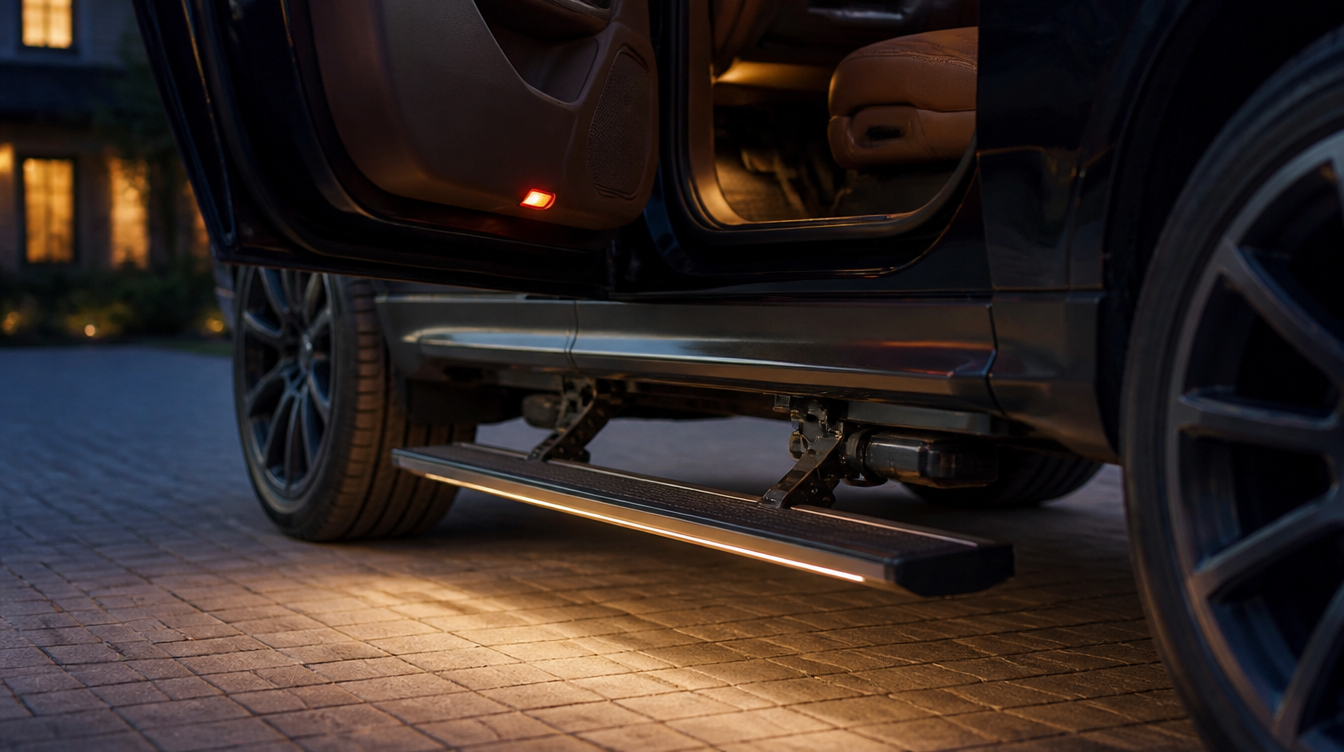
The retractable electric running board deploys when the door opens and then retracts. It combines the access of a platform and the ground clearance of a vehicle without a running board — at the cost of additional mechanics and wiring.
- Tube: the cheapest, narrow support, slippery in wet weather;
- Aluminum platform: the best everyday compromise;
- Retractable electric: the most comfortable, the most expensive, the most complex;
- Stamped or ribbed sheet metal: grip makes all the difference in winter;
- A decorative tube without a pad is not a running board, it is a bar.
Universal or custom-made running board: the real match
The universal 4x4 running board is a profile delivered in standard length with adjustable brackets. It adapts to a wide family of vehicles, with drilling and sometimes cutting.
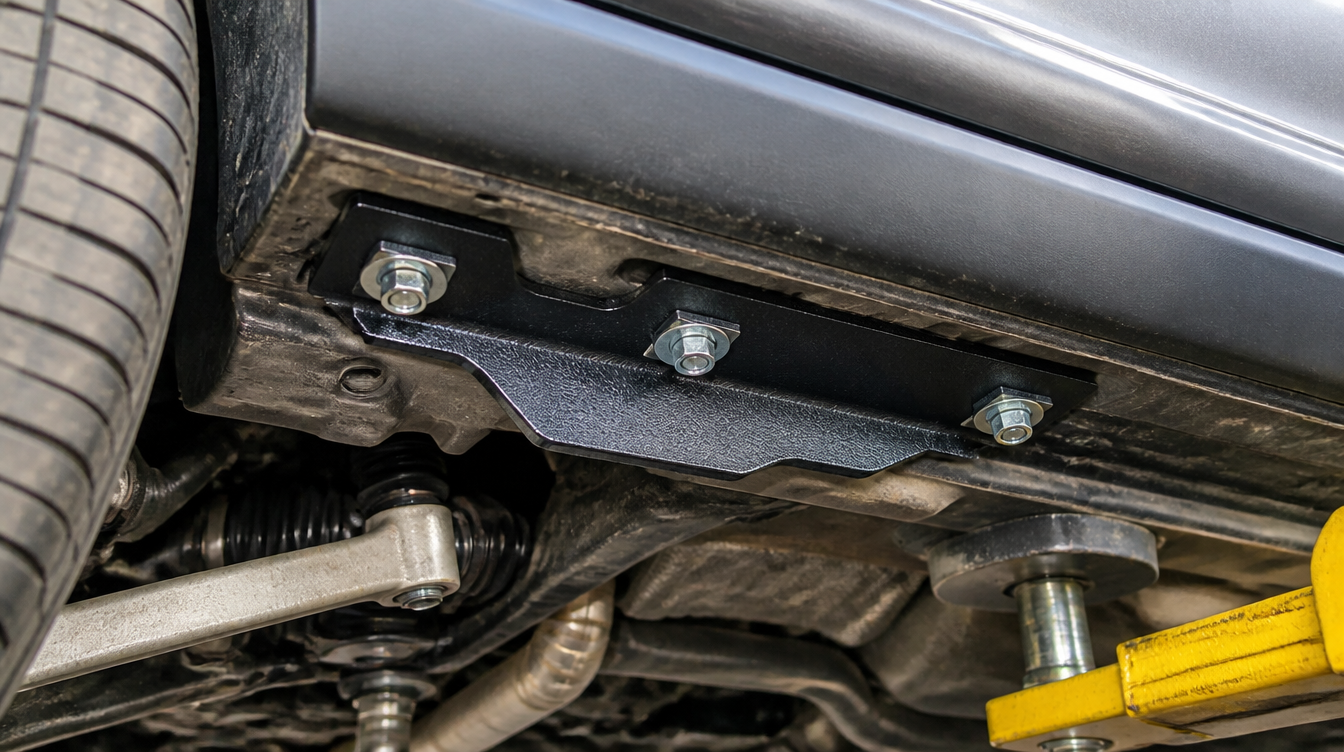
The custom-made model comes with bent brackets for a specific vehicle and generation, designed to be bolted on existing points. It is installed in an hour, without drilling, and it fits perfectly.
The honest call: if dedicated supports exist for your vehicle, take them. The extra cost is quickly absorbed by the installation time and by the absence of drilling in an area that rusts.
- Universal: cheaper, available, but drilling and alignment to do;
- Universal: the adjustable brackets are the weak point in torsion;
- Custom-made: bent brackets, existing points, guaranteed alignment;
- Custom-made: essential if the rocker panel is composite;
- In both cases, count three supports minimum per side.
Three supports per side is a real criterion. Many entry-level kits only have two: the running board flexes in the middle under the weight of an adult and ends up warping.
Mounting: chassis, frame rails, or rocker panel points
This is the point that separates a safe running board from a decorative accessory. Three mountings exist, and they do not have the same resistance.
On factory points. Many SUVs and pickups already have threaded holes under the rocker panel, designed for an optional factory running board. It is the ideal mounting: structural, reversible, without drilling.
On chassis or frame rail. On a real 4x4 with a separate chassis, the brackets are bolted directly into the chassis. It is the most robust mounting, the one that accepts the highest loads.
On the rocker panel pinch. The bracket mounting on the sheet metal fold is the most common in universal. It works, provided you interpose a distribution plate and an insulator, and never tighten directly on the bare sheet metal.
- Factory points under the rocker panel: to look for first;
- Chassis or frame rail: the strongest, reserved for chassis vehicles;
- Bracket on sheet metal pinch: acceptable with distribution plate;
- All drilling is treated with anti-corrosion primer before mounting;
- Never self-tapping screws in a rocker panel: it is a rust point.
Aluminum, stainless steel, or painted steel: the material decides the durability
On a part exposed to projections, salt, and gravel, the material is not a finishing detail: it is what determines if the accessory will last three winters or fifteen.
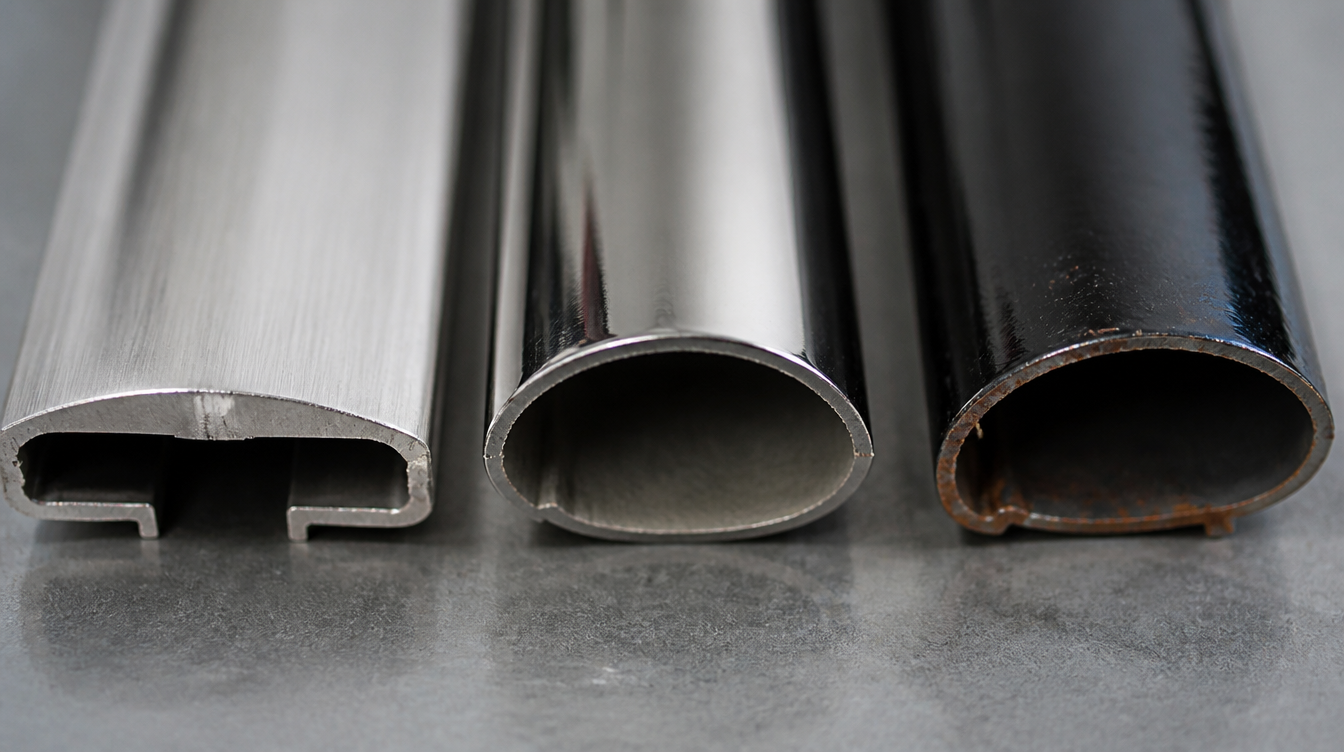
Extruded aluminum is the standard for platforms. Light, insensitive to perforating corrosion, it does not rust — it oxidizes on the surface and stops there. Its flaw: it scratches and marks more easily.
Polished stainless steel is shiny and durable, but heavy, and it stings at the welds if it is not of the correct shade. Painted steel is the lowest price: it does not forgive any chip, and rust always starts from a drilled hole or a cut edge.
- Extruded aluminum: light, does not rust, the best sure value;
- Stainless steel: shiny and solid, heavy, sensitive to poorly passivated welds;
- Painted steel: the cheapest, reserved for sheltered use;
- Always check the hardware: stainless steel for anything that goes through the sheet metal;
- Painted supports + aluminum running board: corrosion moves to the supports.
This last case is very common. We buy a beautiful aluminum platform and bolt it on steel brackets simply painted, which rust in two winters. Look at the material of the supports, not just that of the running board.
Load capacity: what "150 kg" means on a sheet
Product sheets announce loads of 100, 150, or 200 kg. The number is rarely false, but it is rarely understood.
This value is a static, distributed, and centered load: a weight placed gently in the middle of the step, vehicle at a standstill. It is not the same as an adult who jumps on it with work boots, which produces a peak of effort much higher.
What really matters are three things: the number of supports, their spacing, and the thickness of the profile. A running board announced at 200 kg with two supports is worth less than a model announced at 150 kg with four.
- Announced load = static, distributed, centered between two supports;
- A dynamic support easily generates double the static effort;
- Three supports per side at minimum, four on a long vehicle;
- Aluminum profile thickness: 2 mm and more on a platform;
- Visible flexing in the middle under an adult: the mounting is insufficient.
The retractable electric running board: promise and reality
It is the most spectacular accessory in the catalog. The running board comes out when the door opens, retracts as soon as it closes, and gives the vehicle its ground clearance and its aerodynamics back.
The promise is real: on a big SUV, we get the access comfort of a wide platform without the permanent inconvenience of an obstacle under the rocker panel. It is the only mounting that really solves this compromise.
The trade-offs, however, are mechanical and electrical. Two motors, joints exposed to mud and salt, a control module to connect to the door contacts: that makes a lot of failure points in the most abused area of the vehicle.
- Maximum access comfort, ground clearance preserved with door closed;
- Two motors and one module: as many exposed failure points;
- Joints to grease and rinse regularly in winter;
- Plan for a backup mode if the mechanism gets stuck deployed;
- Purchase and installation cost significantly higher than a fixed platform.
The practical advice: reserve it for very tall vehicles and road uses. On a 4x4 that really goes off the paths, a fixed aluminum platform remains safer and infinitely simpler.
Non-slip: the criterion we judge in winter, not in a photo
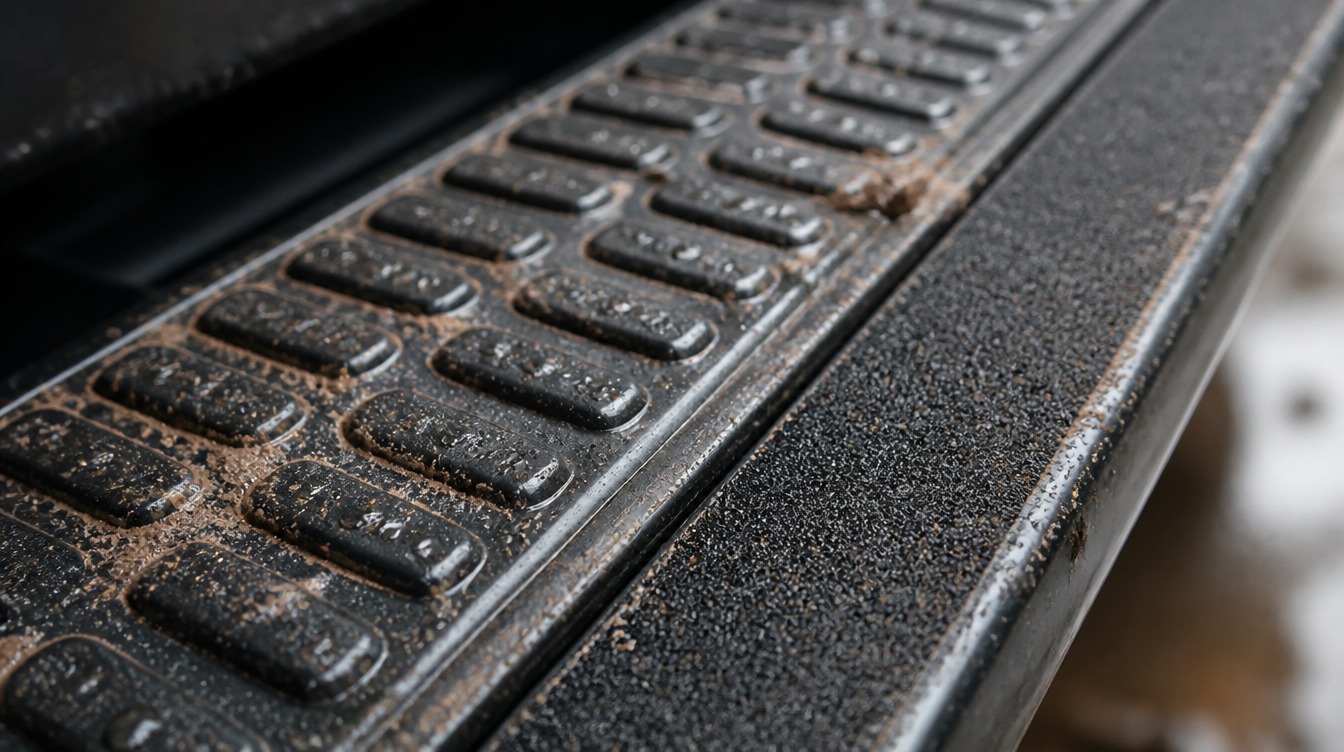
A slipping step is worse than no step at all, because we rely on it. It is the most undervalued criterion at purchase and the first regret in use.
Molded rubber pads are the most widespread and best solution: the grain remains effective when wet, and the rubber takes the frost. Their limit is the surface, often too reduced on a tube.
Aluminum ribs of an extruded platform work well provided they are deep and close together. The adhesive grip tape is an excellent fix, but it peels at the edges after two or three years.
- Molded rubber pads: the best grip in wet weather;
- Deep and close aluminum ribs: effective if the water drains;
- Smooth sheet metal or polished tube without a pad: absolutely avoid;
- Grip tape: effective fix, to be replaced every two or three years;
- Check that water and mud can drain from underneath.
The last point is often forgotten: a closed platform retains water and mud, which freeze in winter and form a sheet. A perforated or open ribbed platform drains by itself.
Dimensions: length, support width, and step height
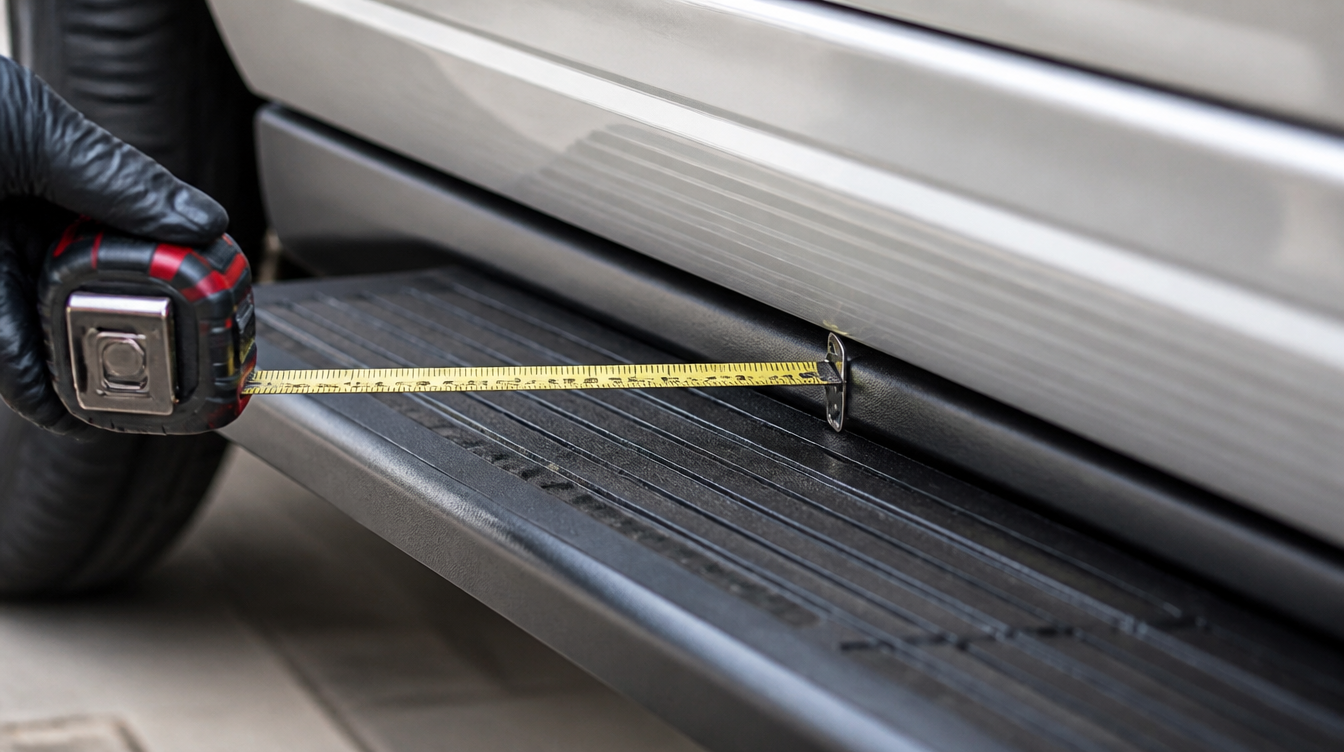
Three measurements are enough to know if a 4x4 running board will fit you, and they are taken in five minutes with a tape measure.
The length. On a five-door, the running board must cover the two doors, otherwise the rear passengers get out into the void. Measure from the front edge of the driver's door to the rear edge of the rear door.
The support width. Below 10 cm, we only place half a sole. Between 12 and 16 cm, we walk normally. Beyond 20 cm, the step protrudes and becomes an obstacle to the garage door.
The height. The running board must fall approximately halfway between the ground and the door sill. Too high, it is useless; too low, we catch it on the sidewalks.
- Length: cover the two doors on a five-door;
- Useful support width: 12 to 16 cm for family use;
- Height: about halfway between the ground and the sill;
- Side overhang: the overall width of the vehicle remains limited by law;
- Check the passage in front of the wheels and the access to the original jack.
What it changes off-road and in everyday use
A running board changes two measurable things: the belly angle and the surface exposed to projections. Both have concrete consequences.
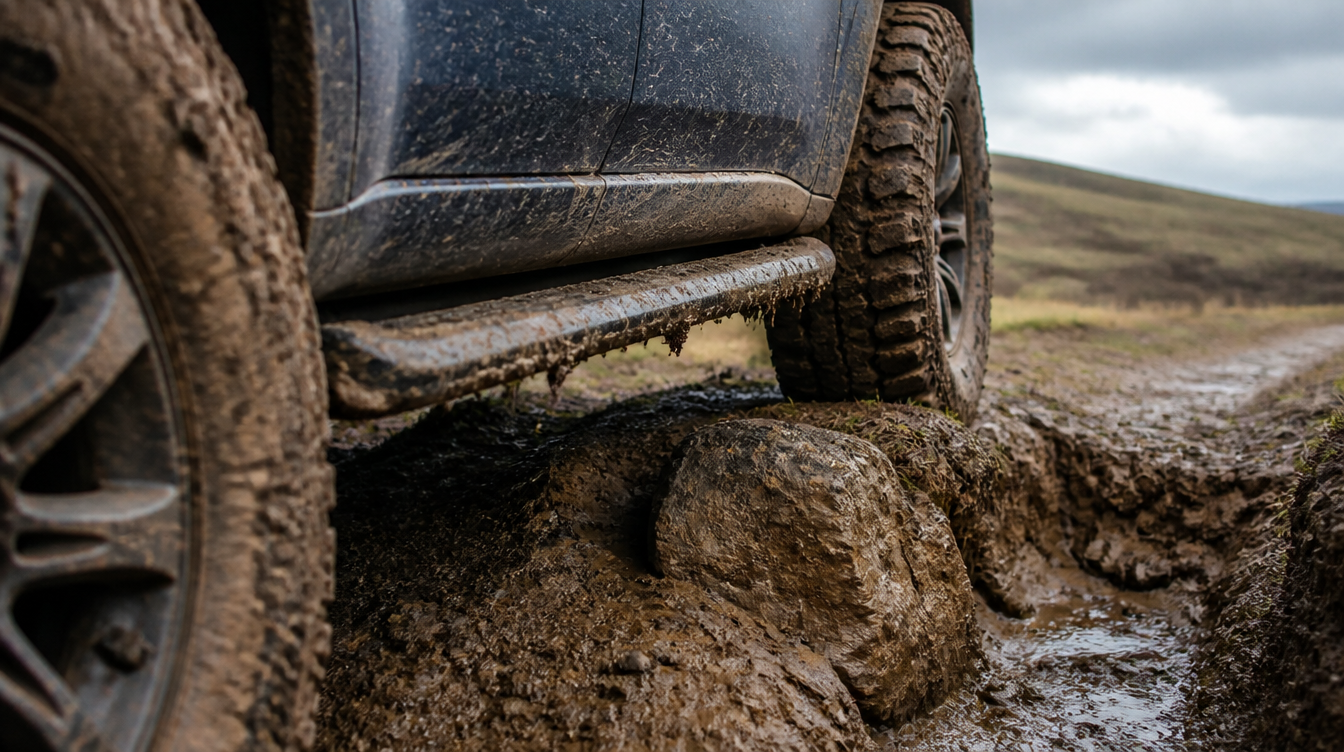
Off-road, the running board becomes the lowest and widest point of the side. On a deep rut or a passage between two rocks, it is the one that touches first. On a real 4x4 used off-road, we prefer a rock slider fixed to the chassis.
In everyday use, the effect is inverse and positive: the running board intercepts the projections that dirtied the rocker panel, and we stop staining our calf when getting out. In return, it must be cleaned, because the mud accumulates on it.
- Reduced belly angle: the running board touches before the rocker panel;
- Regular off-road use: prefer a protector fixed to the chassis;
- Rocker panel protected from gravel and door dings;
- Less projections on the legs when getting out of the vehicle;
- Mud and snow to be removed regularly: the step must remain clean.
Regulations and technical inspection
There is no specific approval for side steps in France. Two general rules apply, and they are sufficient to guide the purchase.
The first is conformity with the approved type. Article R321-16 of the Highway Code requires a new approval for a vehicle that has undergone significant modifications. A side step of reasonable dimensions, bolted to pre-designed points, does not fall into this category.
The second concerns protrusions: no added element must have a sharp edge or a part that could injure a pedestrian. A side step with rolled edges and rounded corners is compliant; a cleanly cut and left open tube is not.
- No dedicated approval for side steps in France;
- Significant modification = new approval (Article R321-16);
- No sharp edges, no cut tubes left open;
- The vehicle must remain within the authorized overall width;
- At the technical inspection: poorly fixed or injurious element, it is a failure.
The procedures related to vehicle modification are described on service-public.fr. It is the reference to consult before a forum.
The table: which side step for which use
Rather than a list of compatibilities by model — always wrong somewhere —, here is the grid that starts from your actual use.
| Use | Recommended format | Material | Critical point |
|---|---|---|---|
| Family SUV, city and road | Wide platform 12-16 cm | Extruded aluminum | Cover both doors |
| Tall large SUV, road use | Retractable electric side step | Aluminum + mechanism | Maintenance of joints |
| Utility pickup, construction site | Thick platform, 4 supports | Aluminum or treated steel | Load and non-slip |
| 4x4 used off-road | Chassis-mounted side guard | Thick tubular steel | Chassis mounting mandatory |
| Aesthetic search only | Tubular side bar | Polished stainless steel | Rubber pads essential |
Reading the table: go down to the line that corresponds to your main use, not the one you dream of. A vehicle that goes off-road twice a year remains a road vehicle.
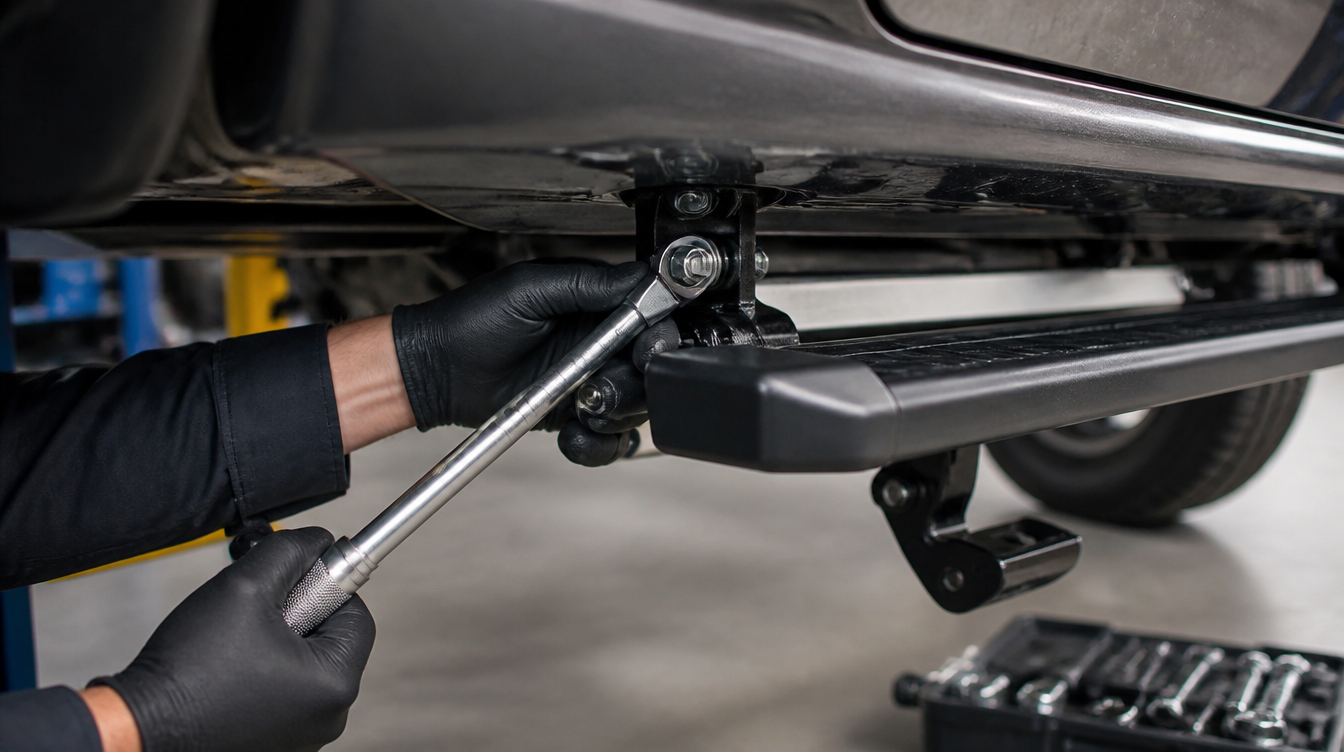
Step-by-step installation
A side step can be installed in one to three hours depending on the assembly. The vehicle on jack stands or on a lift makes the work much easier, and a second pair of hands is almost essential.
We start by presenting the empty supports, without the side step, to check that they fall correctly on the intended points. We then assemble the side step on the supports, hand-tightened only, then present the assembly under the vehicle.
Then comes the alignment: the side step must be parallel to the rocker panel and at the same height on both sides. We measure from the door edge, not from the ground — a garage floor is never flat.
- Present the empty supports before any assembly;
- Assemble the side step on the supports, hand-tightened;
- Align by measuring from the door edge, never from the ground;
- Torque tighten, from the center support towards the ends;
- All drilling treated with anti-corrosion primer before mounting.
The final check: stand on it with all your weight, in the middle then at the ends. No play, no rattling, no visible flexing. Re-check the tightening after a hundred kilometers.
Maintenance, salt and corrosion
The side step is the most exposed part of the vehicle after the wheel arches. It receives everything: gravel, mud, road salt, standing water.
The sensitive point is almost never the side step itself, it is the space between the support and the bodywork. Salt accumulates there, moisture stays there, and corrosion starts exactly there, out of sight.
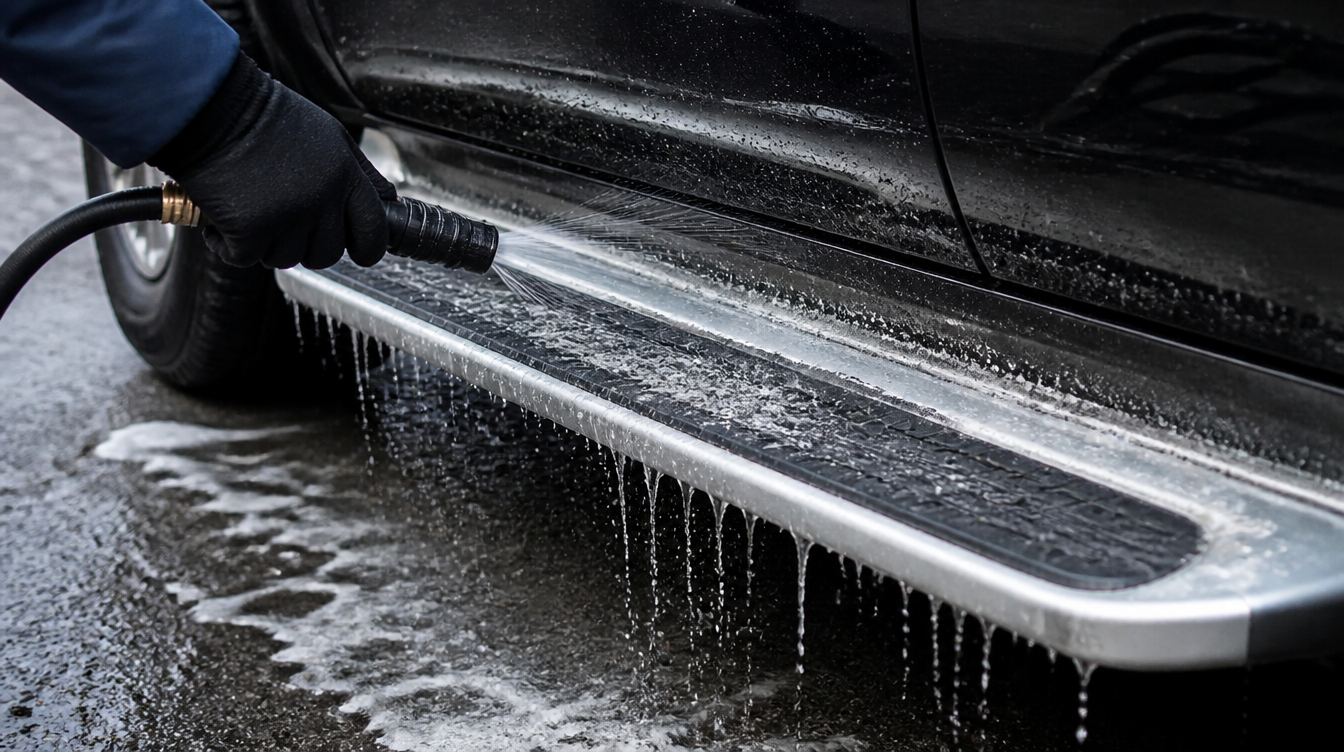
The routine consists of three gestures: rinse with clean water after each salting episode, check the tightening twice a year, and immediately touch up any paint chip on a steel support.
- Rinse with clean water after salting, paying attention behind the supports;
- Check the tightening in spring and fall;
- Touch up paint chips as soon as they appear;
- Grease the joints on an electric side step;
- Hardened or cracked rubber pads: replace them, they no longer grip.
The most common mistakes
They come back in almost all returns, and all cost more than the price difference between a good and a bad kit.
- Choosing from the photo without looking at the number of supports;
- Taking a decorative tube without a pad and believing it is walkable;
- Drilling with a self-tapping screw into a rocker panel;
- Forgetting the anti-corrosion primer on a freshly drilled hole;
- Mounting an aluminum side step on simply painted steel supports;
- Choosing too long and interfering with the opening of a gate or a garage;
- Neglecting non-slip and discovering it at the first frost;
- Never re-checking the tightening after the first few kilometers.
The most frequent remains the first. A two-support side step costs thirty percent less and visibly flexes in the middle as soon as an adult gets on it. It is the only price difference that should never be accepted.
Finding the right side step for your vehicle
Start with the vehicle, then the use. Our side steps are classified by brand, which avoids most support and length mistakes.
Ford side steps, Toyota, Jeep, Nissan, Land Rover, Mitsubishi, Mercedes, Audi, Volkswagen, Kia, Honda and Porsche.
And if your model does not have its dedicated collection, the entire catalog is grouped in our car side steps, with the dimensions and the number of supports indicated on each sheet.
- Note the brand, model, generation and number of doors;
- Measure the length to cover and the height of the sill;
- Check for the presence of tapped points under the rocker panel;
- Compare the number of supports before comparing prices;
- Check the material of the supports, not just that of the side step.


Frequently asked questions about 4x4 and SUV side steps
Will a universal 4x4 side step fit my vehicle? A universal model adapts to a family of vehicles with drilling and alignment. If dedicated supports exist for your model, they are preferable: they bolt to existing points and avoid any drilling in an area that rusts.
What load does a side step really support? The announced load is static, distributed and centered. What really matters is the number of supports, their spacing and the thickness of the profile. Three supports per side at minimum, four on a long vehicle.
Aluminum or stainless steel for a side step? Extruded aluminum is the best compromise: light, insensitive to penetrating corrosion, easy to clean. Stainless steel is shinier and heavier. In both cases, check the material of the supports, which rust before the side step.
Does a side step reduce ground clearance? Yes. It becomes the lowest point of the side and reduces the ventral angle. For regular off-road use, a side guard fixed to the chassis is more suitable; a retractable electric side step solves the problem for road use.
Do you need to drill the bodywork to install a side step? Not always. Many SUVs and pickups have original tapped holes under the rocker panel. When drilling is necessary, it must be treated with anti-corrosion primer before mounting, and never done with a self-tapping screw.
Does a side step pose a problem at the technical inspection? Not in itself. The inspection, however, detects any poorly fixed added element or presenting a sharp injurious edge. A side step with rolled edges, correctly bolted and without play, poses no difficulty.
How to maintain a side step in winter? Rinse it with clean water after each salting episode, paying attention to the space between the side step and the rocker panel where salt accumulates. Check the tightening of the supports twice a year and touch up the slightest paint chip.
In summary
A good 4x4 side step is judged on three points: the number and material of its supports, the actual width of its support surface, and its grip in wet weather. The rest — the shine, the brand, the displayed price — comes far behind.
If you had to remember only one thing: it is the supports that carry, not the side step. Three per side, in treated material, bolted to pre-designed points.
To go further: universal roof bars, compatibility and load, the Jeep Wrangler reliability guide and that of the Suzuki Jimny.
Discover all side steps by brand
Frequent searches: universal 4x4 side step, SUV side step, electric side step, aluminum 4x4 side step, 4x4 side step support, pickup side step, stainless steel side step, retractable side step, non-slip side step, custom side step, 4x4 side step load, SUV side step installation, rocker panel side step, 4x4 side protection, tubular side step.
Recevez nos prochains guides en avant-première
Tutos pose, comparatifs aftermarket vs origine, sélection M Performance/AMG/RS, codes promos exclusifs.